

How to wrap text around a picture in PowerPoint? One thing that can be frustrating with PowerPoint is that some basic features, which are found in other Microsoft Office tools, are lacking in PowerPoint. A couple of weeks ago I published an article on How to Highlight Words in PowerPoint, which is another fundamental feature that is not supported in PowerPoint.
Since you clicked on this article you know that this is not what I am talking about today, in this article I will teach you how to wrap text around a picture in PowerPoint. This is basically a very simple maneuver in the Office Suite, but as the introduction has already revealed; not in PowerPoint. Today I will teach you a few different workaround methods, so you can impress your colleagues or classmates.
There are several answers to your question; how to wrap text around a picture in PowerPoint? In this article, I will go through three different methods, which fit different well for different occasions. These are listed below.
1. Wrap text using in PowerPoint using text boxes
2. Wrap text by manually inserting spaces to imitate “real” text wrapping
3. Wrap text by import already wrapped text from Microsoft Word
What is “text wrap” in PowerPoint?
Text wrap, or text wrapping, means you literally wrap pieces of text around other elements in PowerPoint. This is not a feature unique to PowerPoint. As I mentioned earlier, this is something you can do in most programs in the Office Suite. You can wrap text around just about every element, but PowerPoint may not have built-in features to do this. However, after reading this article you will become the master of text wrapping. You will be able to wrap a text around anything.
Why wrap text around a picture in PowerPoint (or at all for that matter)?
I have used text wrapping when making different posters or flyers. In fact, PowerPoint is a presentation tool, which means you shouldn’t really use larger pieces of text (maybe that’s why this feature doesn’t exist?). In business presentations, I often find no need to wrap text. But if you must do it, do it right. It may be a good idea to wrap text into PowerPoint if you have more massive amounts of text that you want to enliven with an image or figure.
Now we know what text wrapping is, why we should use it, and why we should not use it. Let me now present the methods we can use. We start with how to wrap text around a square figure.
Method 1. How to Wrap Text Using Text Boxes in PowerPoint
This first method of wrap text around a picture in PowerPoint is the absolute simplest if you are going to wrap the text around a rectangular or square figure. In all its simplicity, it involves placing text boxes around your figure. If you have several different pieces of text that are not directly related, this is an excellent method. If, on the other hand, you are writing a longer coherent paragraph, this is not a recommended method. Let me now present the first method of how to wrap text around a picture in PowerPoint.
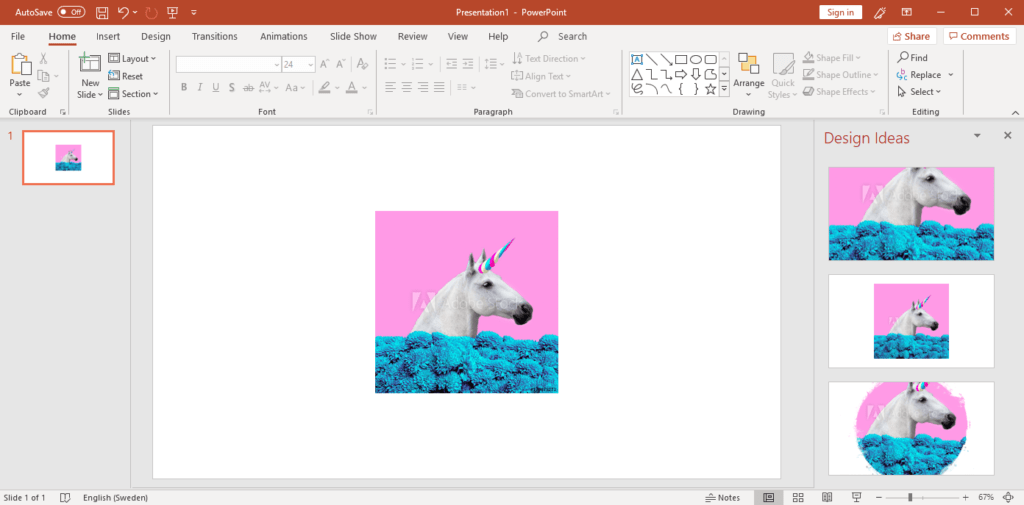
1. Place out your shape.
Place your figure, image, or object where you want it to be. Try to have a clear picture of the position of the image before you start placing text boxes. The more objects you have in your slide, the harder it will be to change the structure.
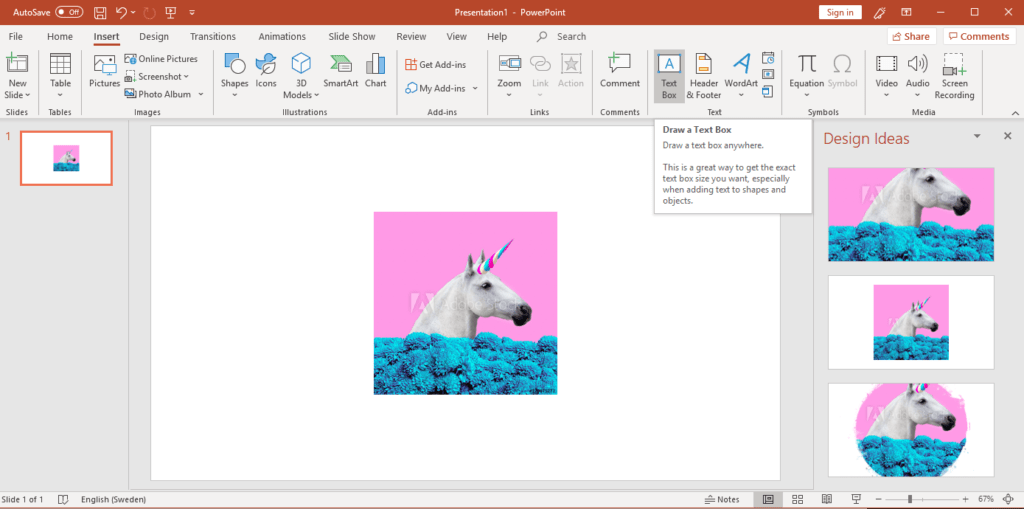
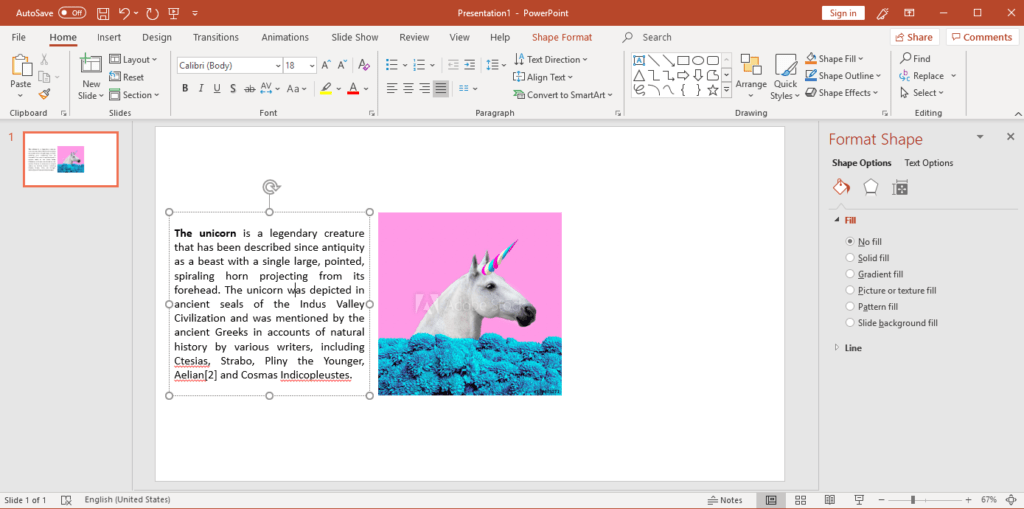
2. Insert a text box.
Navigate to Insert in the menu bar, then select Text Box, and then place it in a suitable place.
3. Copy text into the text box.
4. Format text,
to make it look competent and professional.
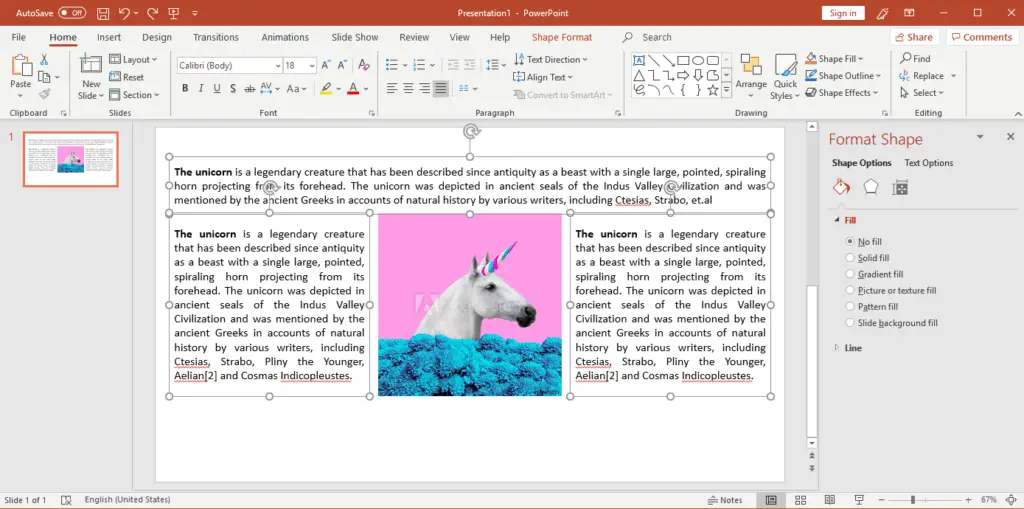
5. Repeat Step 2-4.
Now repeat steps 2-4 until you have filled your slide with enough information. You may also notice that you need to adjust the positions of your text boxes to make it look good.
Method 1. Summary
1. Place out your shape
2. Insert text box
3. Copy text
4. Format text
5. Repeat step 2-4
This was the first of four methods to answer the question; how to wrap text around a picture in PowerPoint. The next method to wrap text into PowerPoint is better suited if you have a character of a more irregular nature.
PRO TIP! You may also like this step-by-step tutorial where we teach how to make a shape transparent in PowerPoint. We also list som great areas of applications when it’s great to use this technique.
Method 2. Wrap text by manually inserting spaces to imitate “real” text wrapping
The previous approach is very straightforward in that the picture has a regular shape, but how to wrap text around a picture in PowerPoint when it is more irregular? These are no problems but require a little more work and precision. Now I’m going to show you the other method of wrap text into PowerPoint. Many steps will be very similar to the ones you performed in the first method.
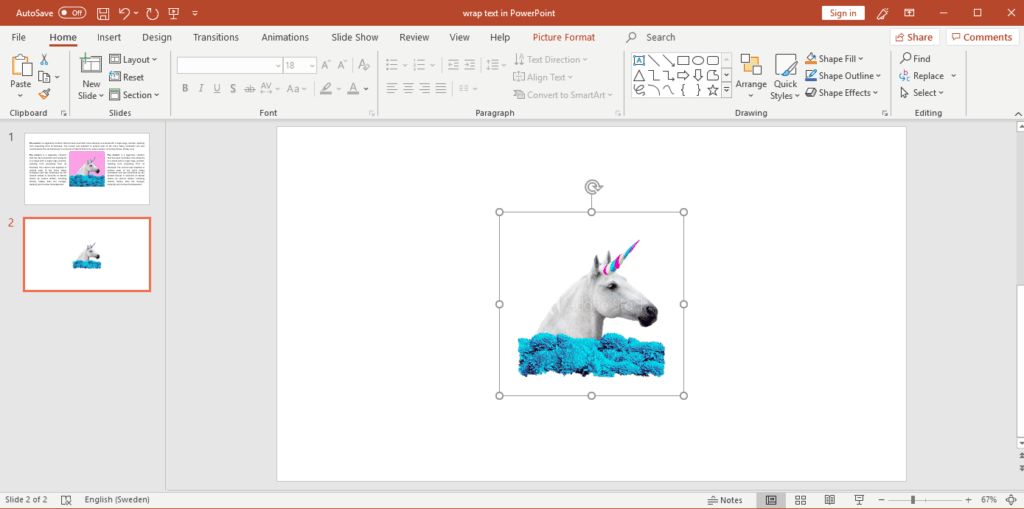
1. Place out your shape.
Place your figure, image, or object where you want it to be. Try to have a clear picture of the position of the image before you start placing text boxes. The more objects you have in your slide, the harder it will be to change the structure.
2. Insert a text box.
Navigate to Insert in the menu bar, then select Text Box, then place it in a suitable place and fill it with text.
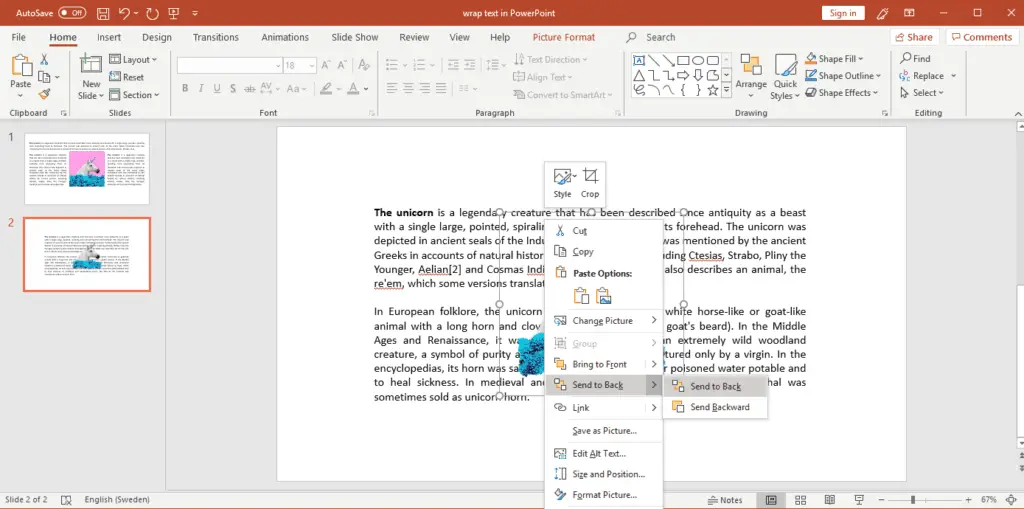
3. Send your shape back.
Right-click on your shape or image and place it at the back of all items in your presentation. To do this, right-click, and click Send to Back.
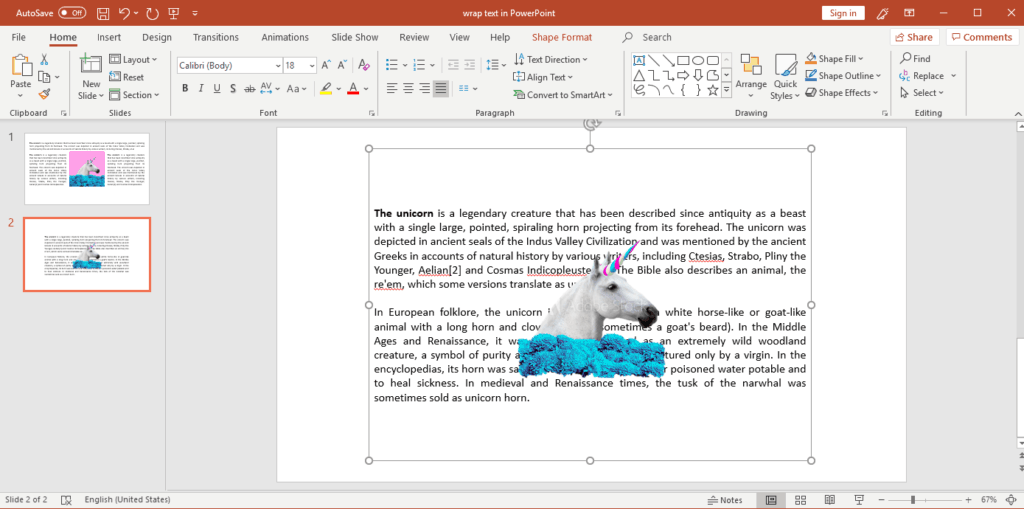
4. Move the text.
Now, what may take some time to move the text to wrap text manually. To do this, select the text in the appropriate place and press Tab or Spacebar until the text appears to be wrapped.
5. Repeat Step 4.
Repeat the previous step until you have achieved the desired effect. Be methodical and work your way down, line by line, until you are satisfied with the result.
Method 2. Summary
1. Place out your shape
2. Insert a text box
3. Send your shape back
4. Move the text.
5. Repeat step 4
The advantage of this method compared to using the automatic wrap text feature in Microsoft Word is that you can decide what distance you want between the figure and the text. The first time you do this it may not look so good, but after a couple of times, it will look perfect. When I did this tutorial of how to wrap text around a picture in PowerPoint, I found myself thinking this method was fun. May I need to consult a doctor to examine my mental health?
Enough about my mental health! Let’s move on to the next method. In the following method that describes how to wrap text around a picture in PowerPoint, I will use Microsoft Word.
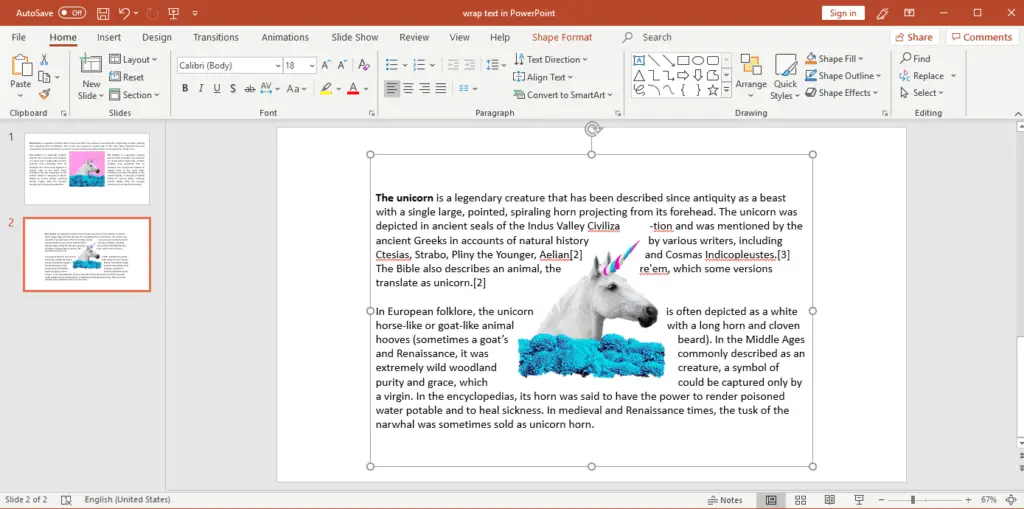
Method 3. Import already wrapped text from Microsoft Word
According to many, this is by far the best method for wrap text into PowerPoint. I’m actually prepared to agree with this, but it requires that you have access to Word. Start by opening a new Word document and filling it with text.
1. Open a new Word document and fill it with text.
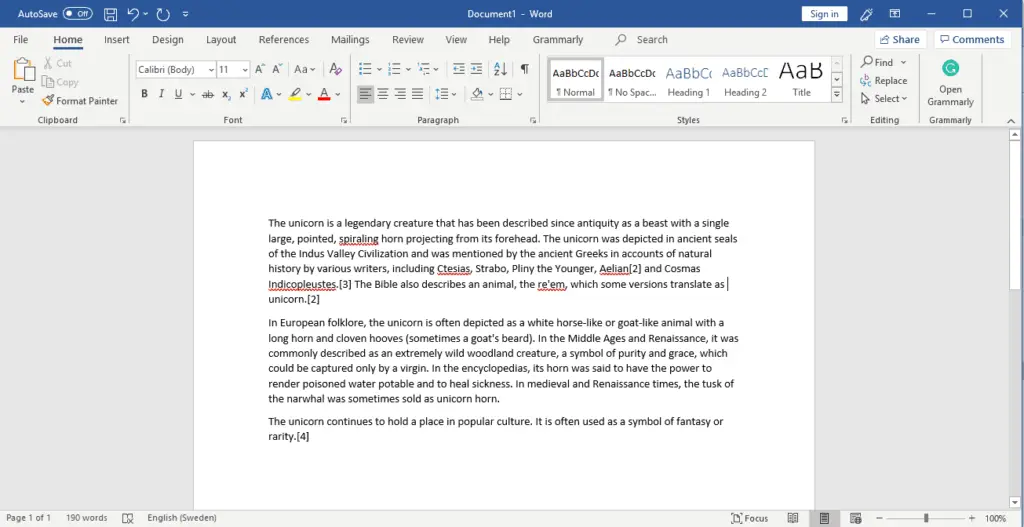
2. Insert your image.
Position the cursor where you want your image to be positioned to streamline the workflow. You can then adjust the position of your image.
3. Wrap text.
Now you will use the tool we wish existed in PowerPoint, Wrap Text. Right-click on the image and navigate down to the menu; Wrap Text.
PRO TIP! If you enjoy this PowerPoint Step-by-Step tutorial I think you would like our tutorial on how to make a word cloud in PowerPoint. This is a great way to inject some life into your presentation.
Wrap Text in Word
As you can see, there are a variety of options under Wrap Text in PowerPoint. The titles of these are pretty self-explanatory, but below I show how they look so that you can quickly choose which one suits you best. You will now begin to realize that this is the most effective method of how to wrap text around a picture in PowerPoint.
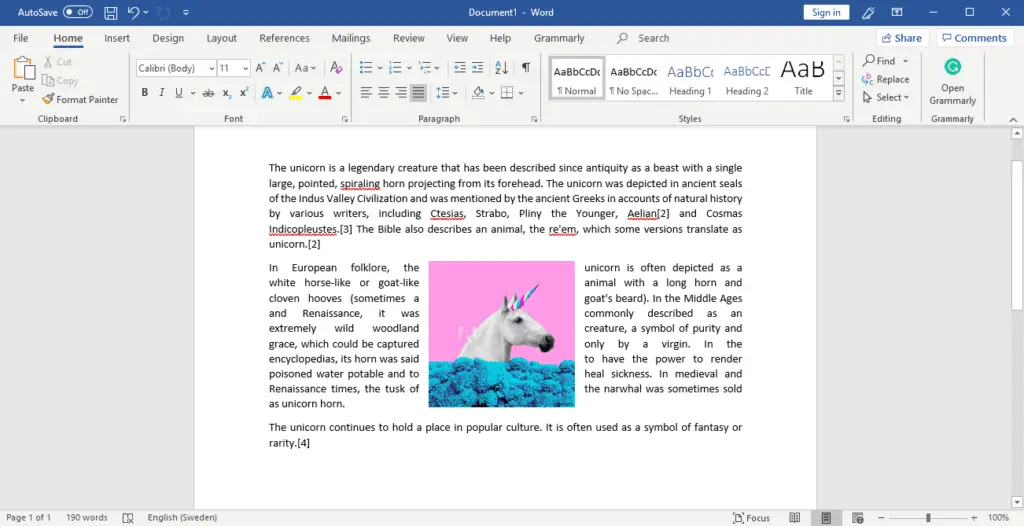
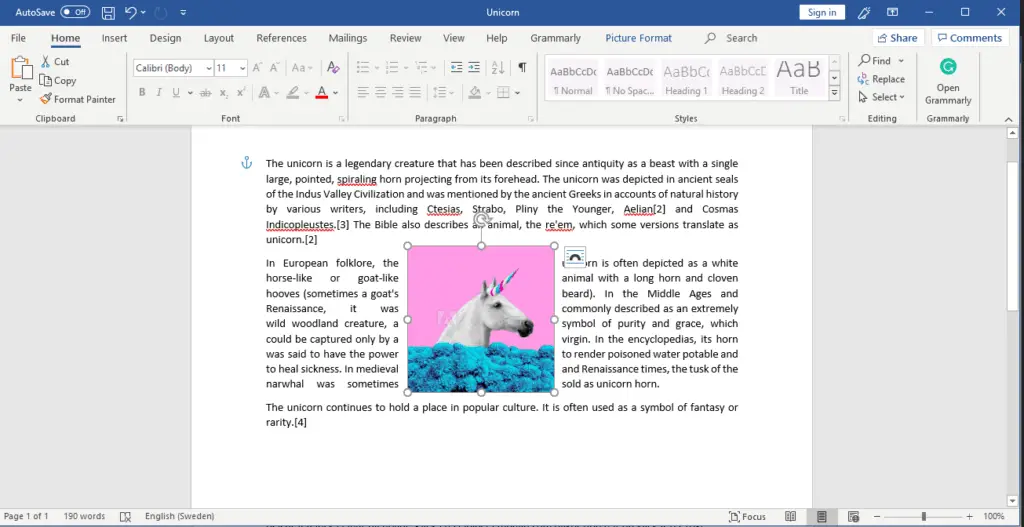
Wrap Text Word: In Line With Text
Wrap Text Word: Square
This is the most common method

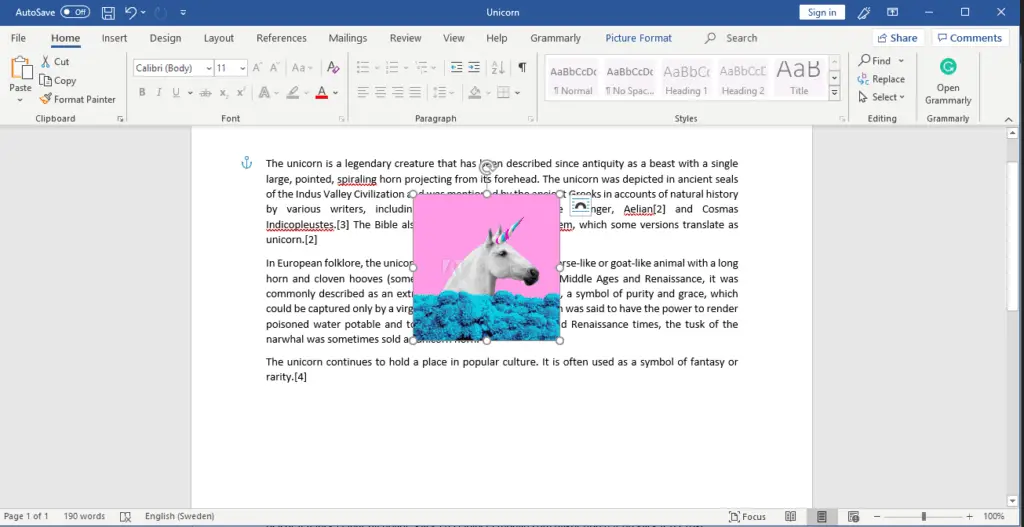
Wrap Text Word: Tight
This also a very common method
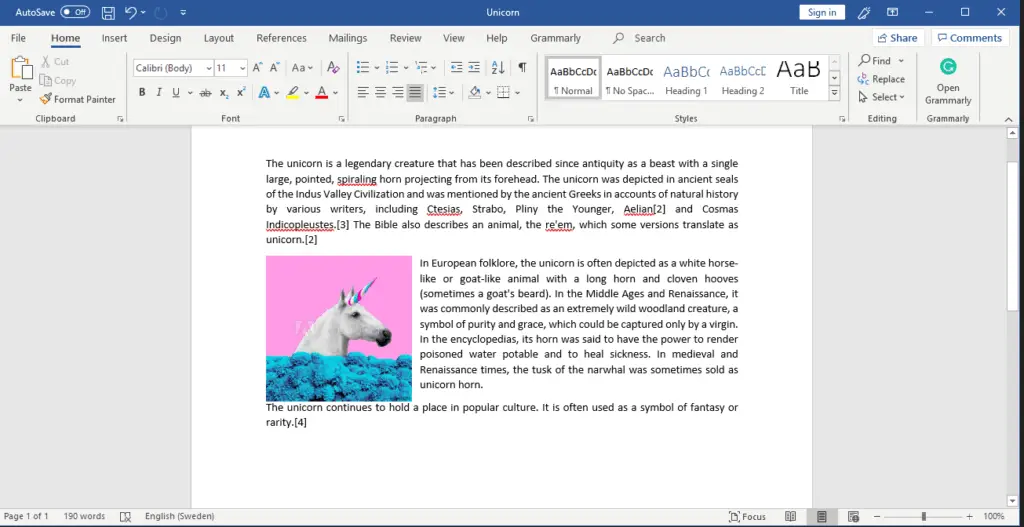
Wrap Text Word: Through
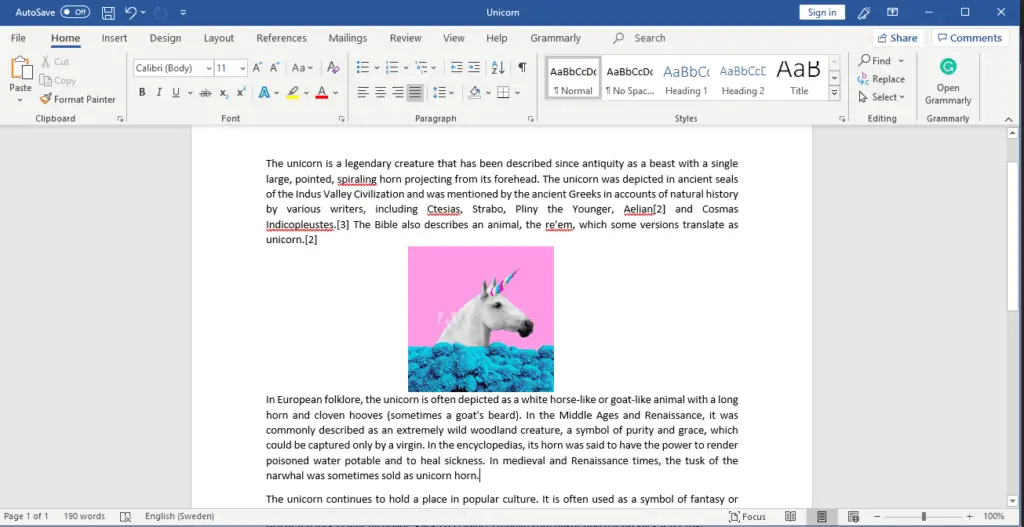
Wrap Text Word: Top and Bottom
This is a nice and clean looking style
Wrap Text Word: Behind Text
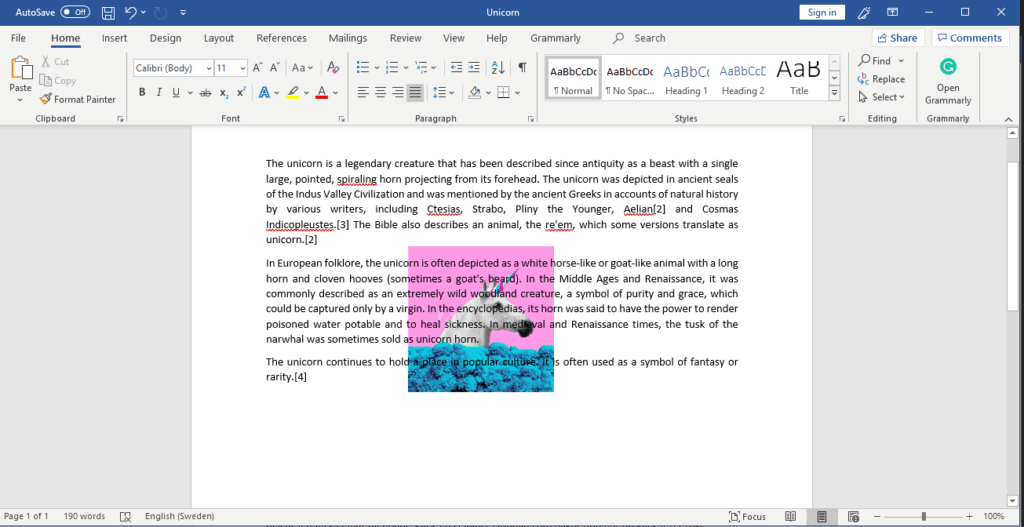
Wrap Text Word: In Front of text
I usually use the Square function nine times out of ten, as I think it looks most professional. Top and Bottom is also a good option if you have wrap text around a picture that is slightly wider. Play around with the wrap text feature in Word to find the variant that best suits your purpose. Now let’s copy the formatted text and image into PowerPoint.
4. Save your Word file.
Save your file, close it, and then navigate over to PowerPoint again.
5. Insert text.
When you are back in PowerPoint; navigate to the Insert tab and then look up Text, which is located quite far to the right. When you click Text, click Object in the menu that pops up.

6. Insert text and image.
A dialog box will appear, click Create from file and then select Microsoft Word Document. Click OK. Finished!
Method 3. Summary
1. Create a new Word document and fill it with text.
2. Insert your image
3. Wrap text
4. Save your Word file
5. Insert text
6. Insert text and image
Change Wrapped Text imported from Word, in PowerPoint
Although there were relatively many steps in this method of how to wrap text around a picture in PowerPoint, it usually gets very neat. However, this method is not very flexible if you need to make changes unless you use the Office 365 version of PowerPoint.
Change Wrapped Text in PowerPoint, Office 356. If you have PowerPoint version Office 365, you will notice that your Word document is embedded in your slide. This means that you can easily select your inserted Word document and edit it directly in your PowerPoint presentation.
Change Wrapped Text in PowerPoint, Other versions. If you have older versions of PowerPoint, which most of us have, it will be a little more complex to make changes. You then have to open up your Word document and make the changes there.
This method usually gives very good results, but this time I do not actually think it was that good. I would say that I prefer the first method with text boxes.
Now has presented three different options of how to wrap text around a picture in PowerPoint, but also how to wrap text in Word. Do you feel that you have to use the wrap text feature, to create a flyer in PowerPoint, or an information sheet, you should, of course, do this. However, now I’m going to introduce some alternative techniques you can use instead, which I think will be much better.
Bonus Section: Alternatives to Text Wrapping in PowerPoint
If you have read through this entire text and the three tutorials on how to wrap text around a picture in PowerPoint, you mark that it is not an entirely straightforward assignment. My theory is that this is because Microsoft believes you should not have large pieces of text in your presentations and therefore you should not have a need to wrap text in PowerPoint.
I, and everyone else who works with slide decks and presentation techniques, agree with this 99 times out of a hundred. So you should avoid this as much as you can, but if you feel you have to wrap text into PowerPoint – do it!
There are often excellent alternatives that you can do instead. Below I list three options to text wrapping in PowerPoint. These are very simple to execute, and also much nicer than wrap text.
Tips! If you want to find royalty-free images, visit pexels.com
Image + Colored Text Box
This, I would argue, is the best alternative to traditional wrap text in PowerPoint. It’s very simple; fill part of your slide with the image, then fill the other part with a filled shape or text box. This creates a very professional impression, and if you follow the same methodology throughout your slide deck it will look very professional.
50/50 – Text on one side and the image on the other side
This creates a clean slide, which makes the text much easier to read. Furthermore, this works if you are going to make an informative slide deck that should not be presented
Image + Bullet Points
Now you have obviously applied for a tutorial that teaches you how to wrap text around a picture in PowerPoint, but I still want to introduce the idea of bullet points for you. Consider if you can shorten the text to 3-5 bullet points instead. It will be a more delightful slide deck. Maybe you can move down the text to an appendix?
Summary
I have found in this article that wrap text in PowerPoint can be both complex, and not always give the best end result. This is mostly because PowerPoint is actually not created to handle large pieces of text. This and some other tips you can read more about in this article: How to use Powerpoint Correctly
Despite the apparent disadvantages of wrap text into PowerPoint, there are times when you need to do it. As a result, I have taught you three different options for how to wrap text around a picture in PowerPoint. Also, you have been shown three different options that you can do if you decide not to wrap text into PowerPoint.
You May Also Like: How to Format PowerPoint Slides: A Complete Tutorial
Method 1. Summary
1. Place out your shape
2. Insert text box
3. Copy text
4. Format text
5. Repeat step 2-4
Method 2. Summary
1. Create a new Word document and fill it with text.
2. Insert your image
3. Wrap text
4. Save your Word file
5. Insert text
6. Insert text and image
Method 3. Summary
1. Create a new Word document and fill it with text.
2. Insert your image
3. Wrap text
4. Save your Word file
5. Insert text
6. Insert text and image
You May Aslo Like: 7 Tips of How to Make an Effective PowerPoint Presentation
You May Also Like: 10 Tips to Make a Successful PowerPoint Presentation
Final Words
Thanks for your attention! I hope you find this article interesting and helpful, and if you did please share it. If you have any questions or comments on our articles, please let me know, I love to converse with my readers <3 If you have any suggestions on articles I should do in the future, let me know. Good luck with your PowerPoint Journey!
